Android Studio is the official IDE for android application development. It works based on IntelliJ IDEA, You can download the latest version of android studio from Android Studio 2.2 Download, If you are new to installing Android Studio on windows,you will find a file, which is named as android-studio-bundle-143.3101438-windows.exe.So just download and run on windows machine according to android studio wizard guideline. If you are installing Android Studio on Mac or Linux, You can download the latest version from Android Studio Mac Download,or Android Studio Linux Download, check the instructions provided along with the downloaded file for Mac OS and Linux. This tutorial will consider that you are going to setup your environment on Windows machine having Windows 8.1 operating system.
So let’s launch Android Studio.exe,Make sure before launch Android Studio, Our Machine should required installed Java JDK. To install Java JDK,take a references of Android environment setup
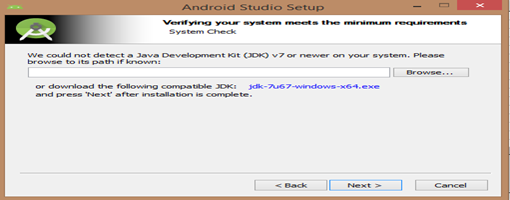
Once you launched Android Studio, its time to mention JDK7 path or later version in android studio installer.
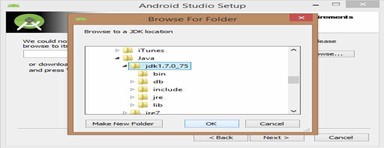
Below the image initiating JDK to android SDK
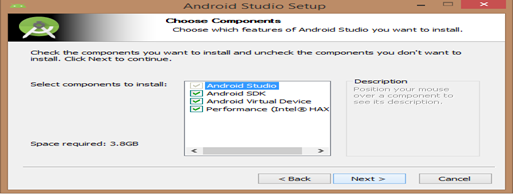
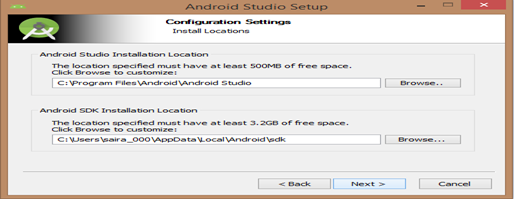
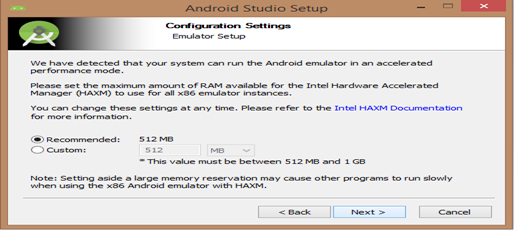
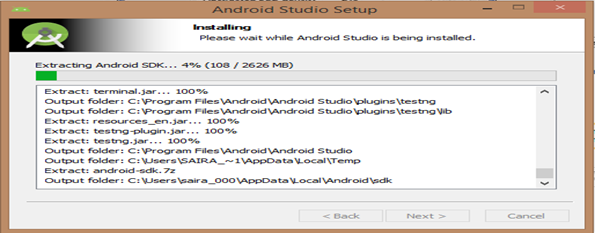
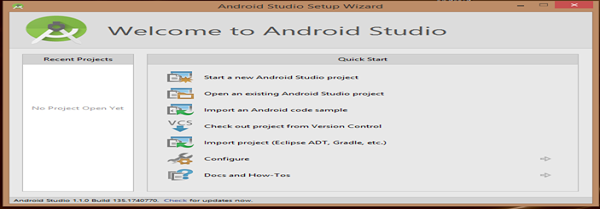
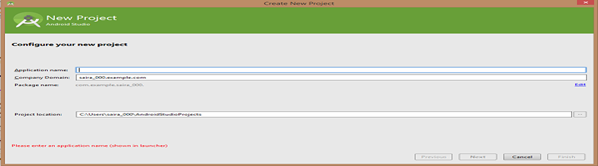
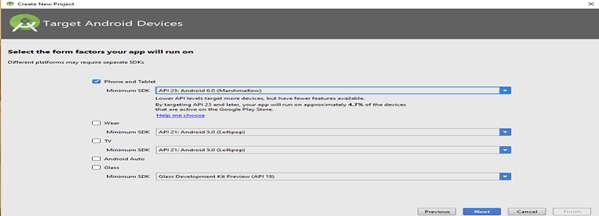
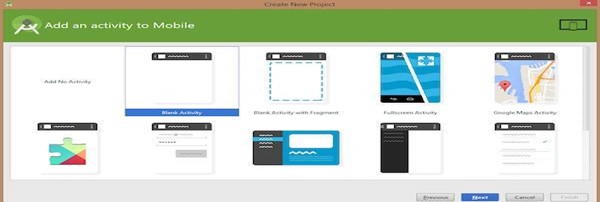
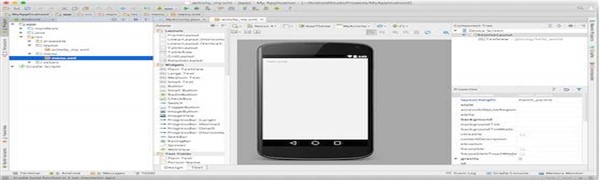
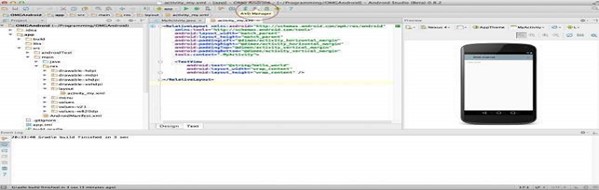
Need to check the components, which are required to create applications, below the image has selected Android Studio, Android SDK, Android Virtual Machine and performance Intel chip.Need to specify the location of local machine path for Android studio and Android SDK, below the image has taken default location of windows 8.1 x64 bit architecture.Need to specify the ram space for Android emulator by default it would take 512MB of local machine RAM.At final stage, it would extract SDK packages into our local machine, it would take a while time to finish the task and would take 2626MB of Hard disk space.After done all above steps perfectly, you must get finish button and it gonna be open android studio project with Welcome to android studio message as shown belowYou can start your application development by calling start a new android studio project. in a new installation frame should ask Application name, package information and location of the project.After entered application name, it going to be called select the form factors your application runs on, here need to specify Minimum SDK, in our tutorial, I have declared as API23: Android 6.0MashmallowMashmallow but Normally we can choose 4.0 because 97.4% devices are running on version 4.0 and above.The next level of installation should contain selecting the activity to mobile, it specifies the default layout for ApplicationsAt the final stage it going to be open development tool to write the application code.
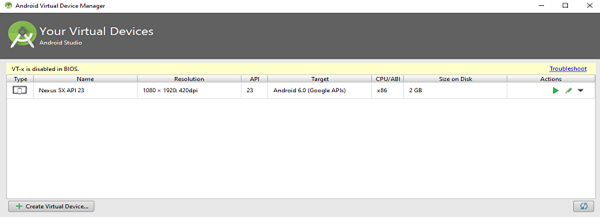
To test your Android applications, you will need a virtual Android device. So before we start writing our code, let us create an Android virtual device. Launch Android AVD Manager Clicking AVD_Manager icon as shown below
After Click on a virtual device icon, it going to be shown by default virtual devices which are present on your SDK, or else need to create a virtual device by clicking Create new Virtual device buttonIf your AVD is created successfully it means your environment is ready for Android application development. If you like, you can close this window using top-right cross button. Better you re-start your machine and once you are done with this last step, you are ready to proceed for your first Android example but before that we will see few more important concepts related to Android Application Development.
I’m (Rajashekar) a core Android developer with complimenting skills as a web developer from India.
I cherish taking up complex problems and turning them into beautiful interfaces. My love for decrypting the logic and structure of coding keeps me pushing towards writing elegant and proficient code, whether it is Android, PHP, Flutter or any other platforms.
You would find me involved in cuisines, reading, travelling during my leisure hours.