Generally, each screen in your Android app is associated with one or more fragments. The single screen displaying “Hello first fragment” is created by one fragment, called FirstFragment. This was generated for you when you created your new project. Each visible fragment in an Android app has a layout that defines the user interface for the fragment. Android Studio has a layout editor where you can create and define layouts.
Layouts are defined in XML. The layout editor lets you define and modify your layout either by coding XML or by using the interactive visual editor.
Every element in a layout is a view. In this task, you’ll explore some of the panels in the layout editor, and you’ll learn how to change properties of views.
Open the layout editor
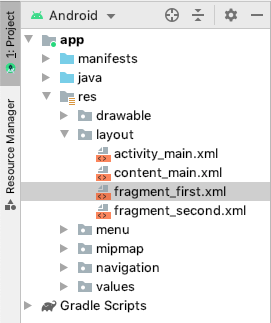
- Find and open the layout folder (app > res > layout) on the left side in the Project panel.
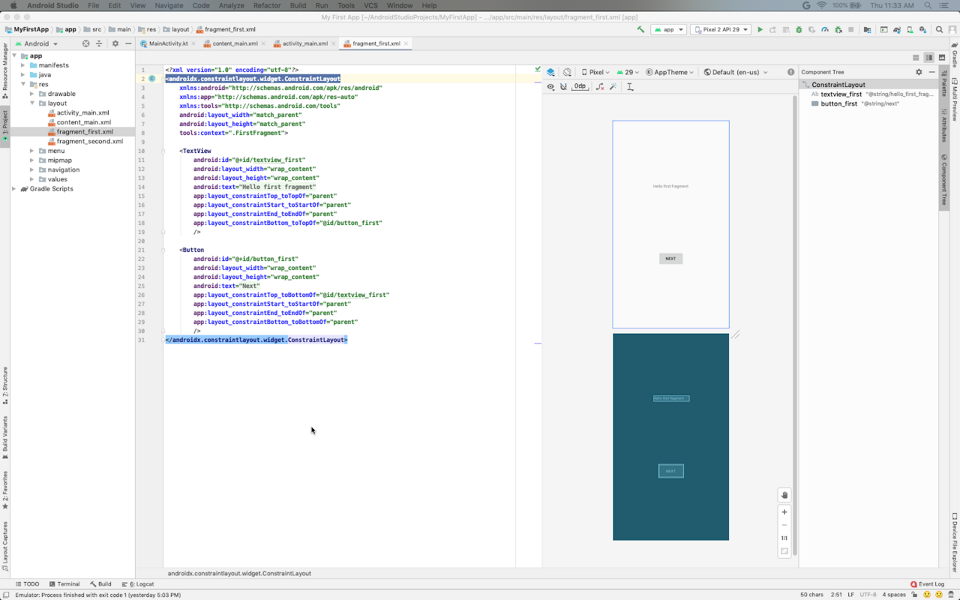
The panels to the right of the Project view comprise the Layout Editor. They may be arranged differently in your version of Android Studio, but the function is the same.
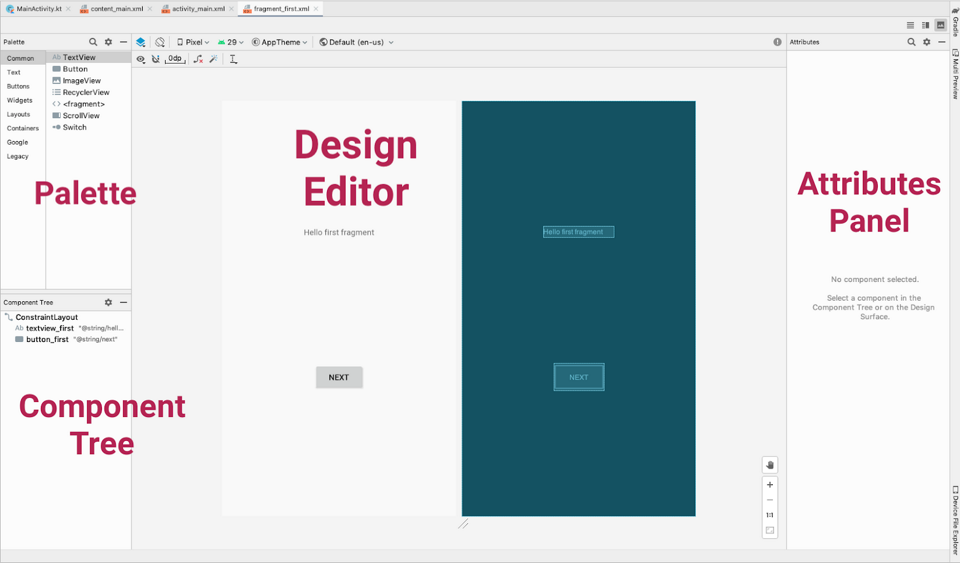
On the left is a Palette of views you can add to your app.
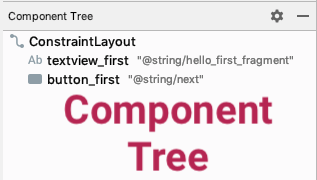
Below that is a Component Tree showing the views currently in this file, and how they are arranged in relation to each other.
In the center is the Design editor, which shows a visual representation of what the contents of the file will look like when compiled into an Android app. You can view the visual representation, the XML code, or both.
- In the upper right corner of the Design editor, above Attributes, find the three icons that look like this:
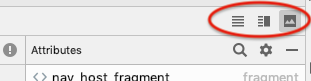
Try selecting the different modes. Depending on your screen size and work style, you may prefer switching between Code and Design, or staying in Split view. If your Component Tree disappears, hide and show the Palette.
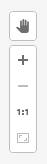
At the lower right of the Design editor you see + and – buttons for zooming in and out. Use these buttons to adjust the size of what you see, or click the zoom-to-fit button so that both panels fit on your screen.
Depending on the size of your screen and your preference, you may wish to only show the Design view or the Blueprint view, instead of both.
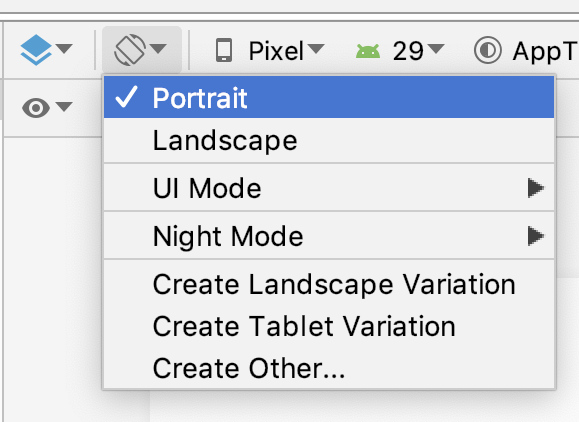
- Use the orientation icon to change the orientation of the layout. This allows you to test how your layout will fit portrait and landscape modes.
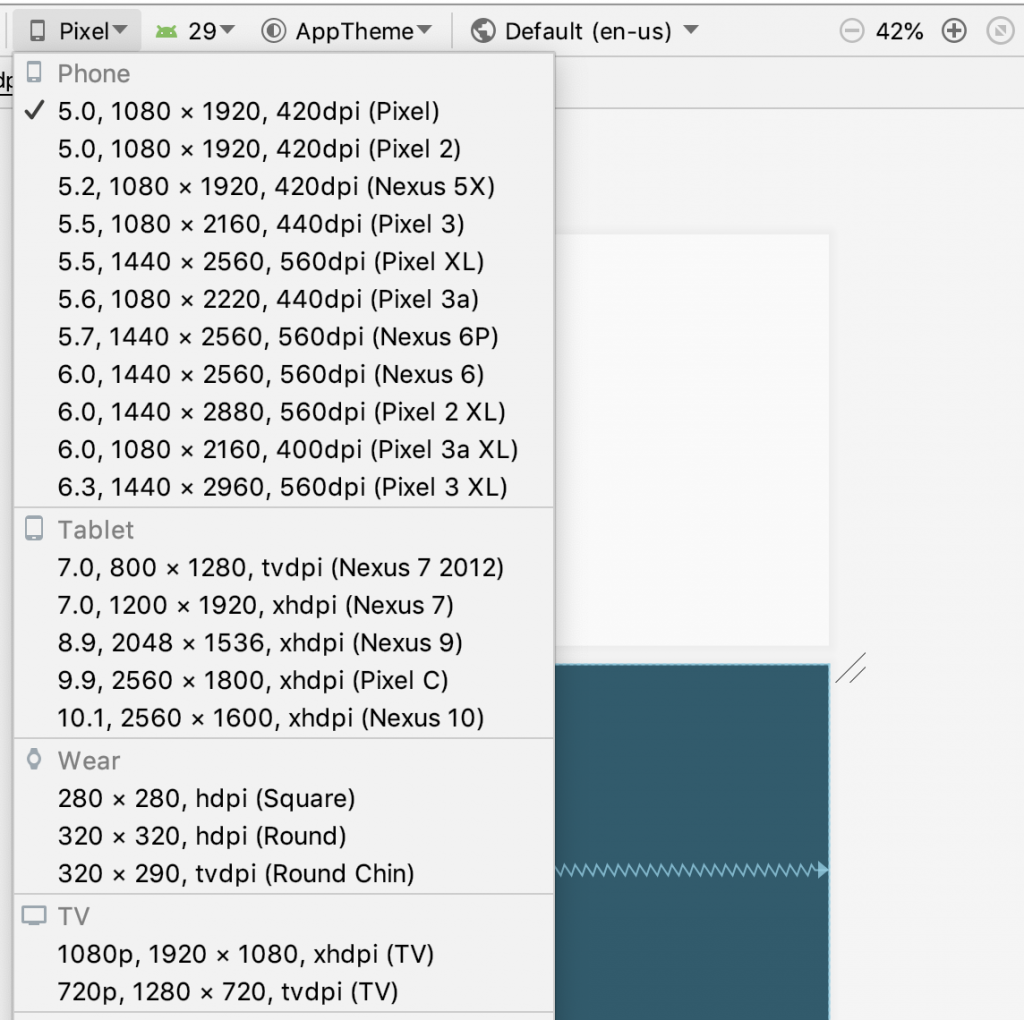
Use the device menu to view the layout on different devices. (This is extremely useful for testing!)
On the right is the Attributes panel. You’ll learn about that later.
Step 2: Explore and resize the Component Tree
- In
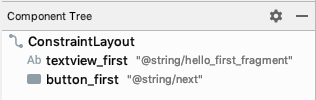
fragment_first.xml, look at the Component Tree. If it’s not showing, switch the mode to Design instead of Split or Code.
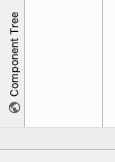
his panel shows the view hierarchy in your layout, that is, how the views are arranged in relation to each other. 2. If necessary, resize the Component Tree so you can read at least part of the strings. 3. Click the Hide icon at the top right of the Component Tree. 
The Component Tree closes. 4. Bring back the Component Tree by clicking the vertical label Component Tree on the left.
Step 3: Explore view hierarchies
- In the Component Tree, notice that the root of the view hierarchy is a
ConstraintLayoutview.
Every layout must have a root view that contains all the other views. The root view is always a view group, which is a view that contains other views. A ConstraintLayout is one example of a view group. 2. Notice that the ConstraintLayout contains a TextView, called textview_first and a Button, called button_first.
- If the code isn’t showing, switch to Code or Split view using the icons in the upper right corner.
- In the XML code, notice that the root element is
<androidx.constraintlayout.widget.ConstraintLayout>. The root element contains a<TextView>element and a<Button>element.
<androidx.constraintlayout.widget.ConstraintLayout
  ... >

   <TextView
      ...  />

   <Button
      ...  />

</androidx.constraintlayout.widget.ConstraintLayout>
Step 4: Change property values
- In the code editor, examine the properties in the
TextViewelement.
<TextView
   android:layout_width="wrap_content"
   android:layout_height="wrap_content"
   android:text="Hello first fragment"
   ... />
Click on the string in the text property, and you’ll notice it refers to a string resource, hello_first_fragment.
android:text="@string/hello_first_fragment"- Right-click on the property and click Go To > Declaration or Usages
values/strings.xml opens with the string highlighted.
<string name="hello_first_fragment">Hello first fragment</string>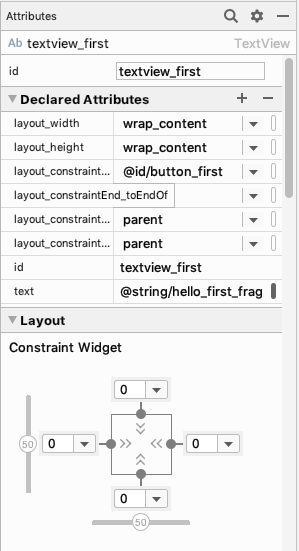
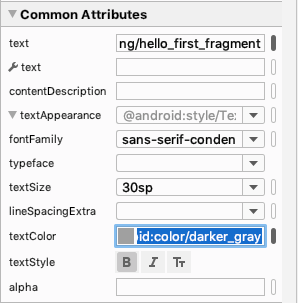
<TextView
   android:id="@+id/textview_first"
   android:layout_width="wrap_content"
   android:layout_height="wrap_content"
   android:fontFamily="sans-serif-condensed"
   android:text="@string/hello_first_fragment"
   android:textColor="@android:color/darker_gray"
   android:textSize="30sp"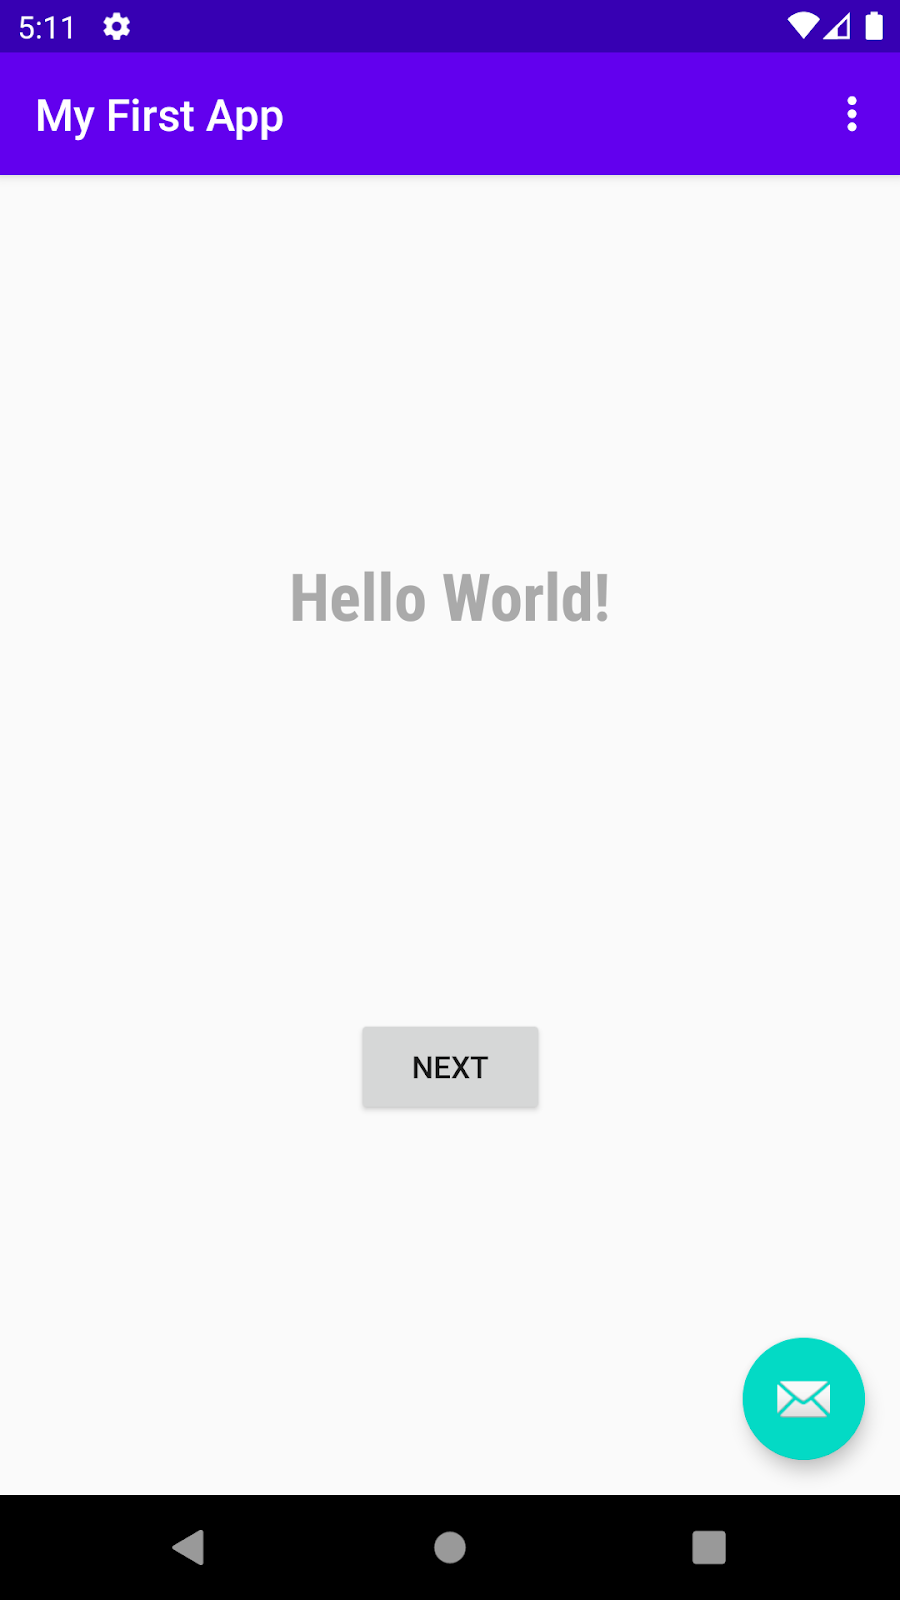
android:textStyle="bold"- Run your app again and see the changes applied to your Hello World! string
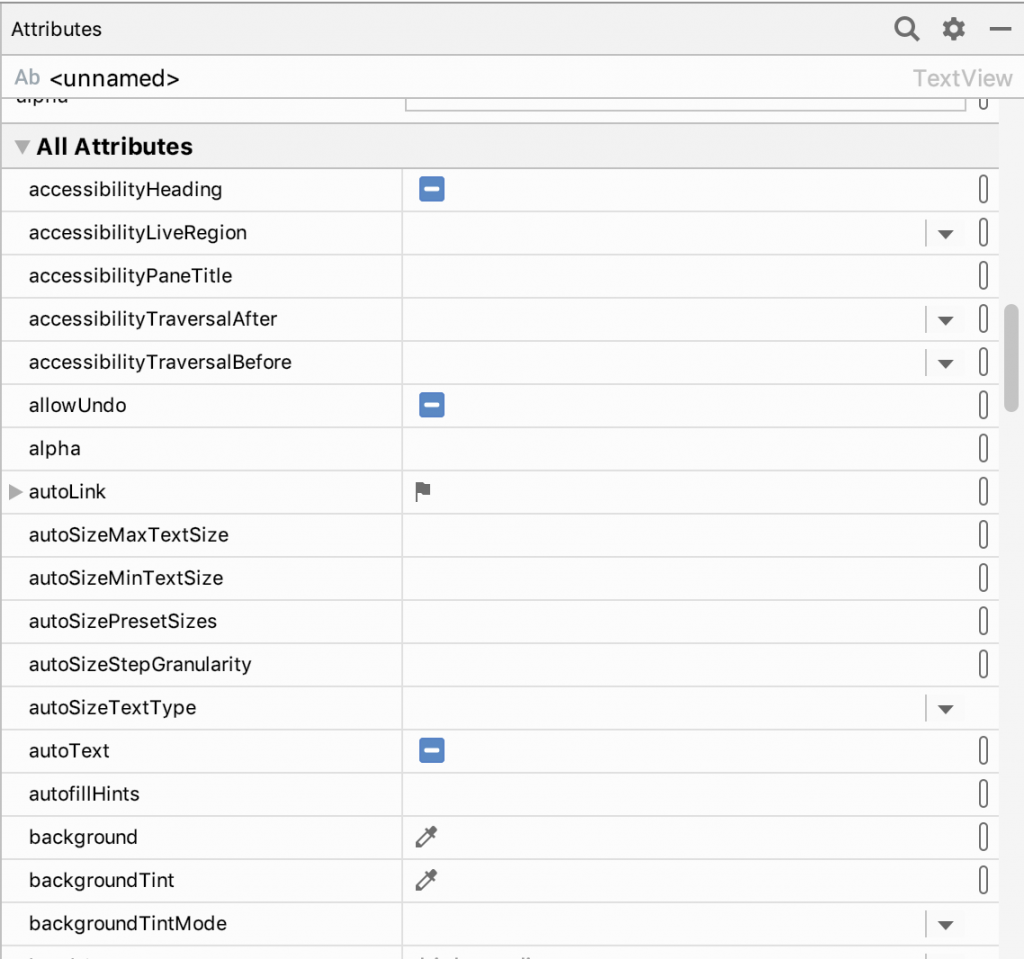
Step 6: Display all attributes
- In the Attributes panel, scroll down until you find All Attributes.