- Open Android Studio.
- In the Welcome to Android Studio dialog, click Start a new Android Studio project.
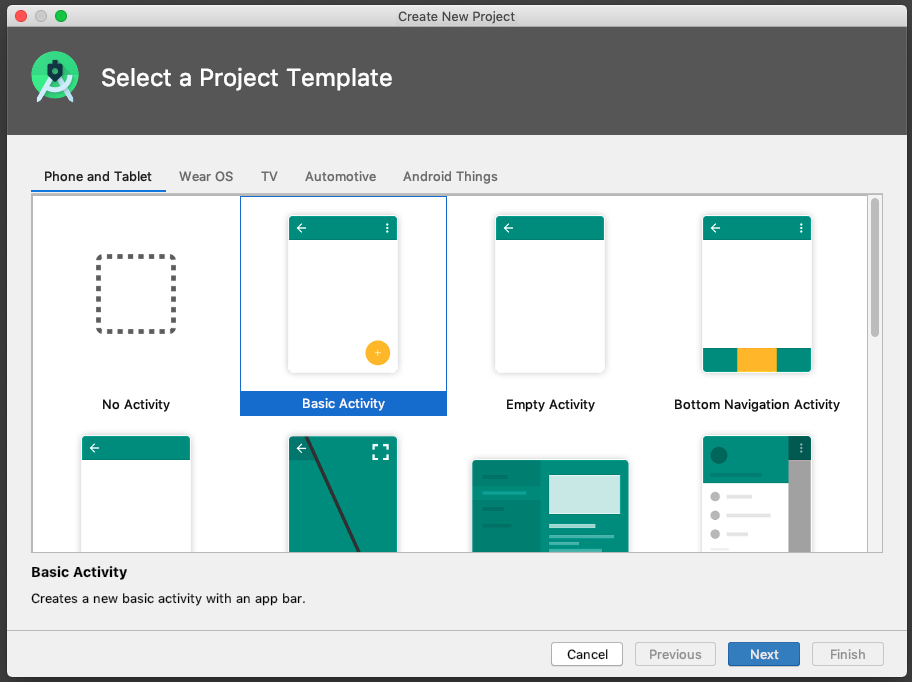
Select Basic Activity (not the default). Click Next.
- Give your application a name, such as My First App.
- Make sure the Language is set to Kotlin.
- Leave the defaults for the other fields.
- Click Finish.
After these steps, Android Studio:
- Creates a folder for your Android Studio project. This is usually in a folder called AndroidStudioProjects below your home directory.
- Builds your project (this may take a few moments). Android Studio uses Gradle as its build system. You can follow the build progress at the bottom of the Android Studio window.
- Opens the code editor showing your project.
Get your screen set up
When your project first opens in Android Studio, there may be a lot of windows and panes open. To make it easier to get to know Android Studio, here are some suggestions on how to customize the layout.
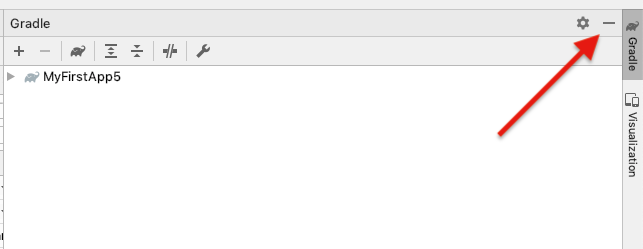
- If there’s a Gradle window open on the right side, click on the minimize button (—) in the upper right corner to hide
- Depending on the size of your screen, consider resizing the pane on the left showing the project folders to take up less space.
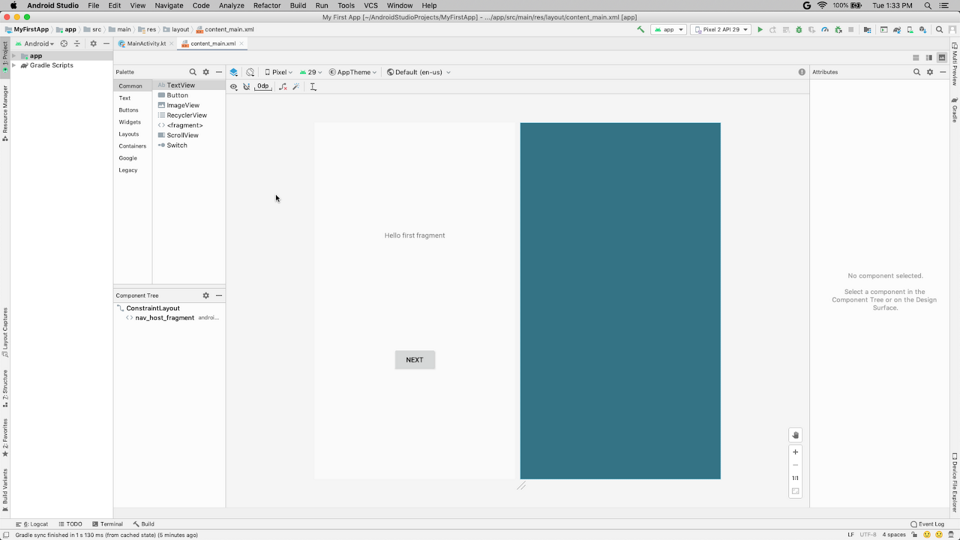
At this point, your screen should look a bit less cluttered, similar to the screenshot shown below.
Explore the project structure and layout
The upper left of the Android Studio window should look similar to the following diagram:
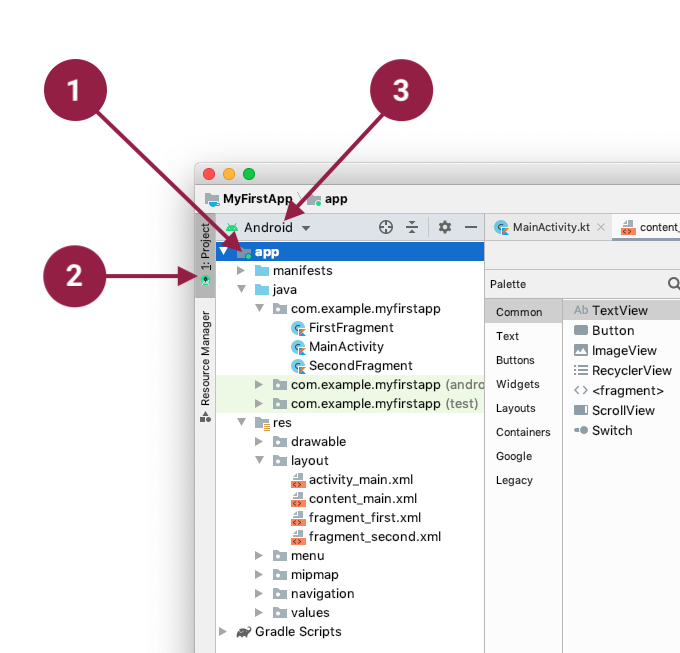
Based on you selecting the Basic Activity template for your project, Android Studio has set up a number of files for you. You can look at the hierarchy of the files for your app in multiple ways, one of which is in Project view (2). Project view shows your files and folders structured in a way that is convenient for working with an Android project. (This does not always match the file hierarchy! To see the file hierarchy, choose the Project files view by clicking (3).)
- Double-click the app (1) folder to expand the hierarchy of app files. (See (1) in the screenshot.)
- If you click Project (2), you can hide or show the Project view.
- The current Project view selection is Project > Android.
In the Project > Android view you see three or four top-level folders below your app folder: manifests, java, java (generated) and res. You may not see java (generated) right away.
- Expand the manifests folder.
This folder contains AndroidManifest.xml. This file describes all the components of your Android app and is read by the Android runtime system when your app is executed. 2. Expand the java folder. All your Kotlin language files are organized here; Android projects keep all Kotlin language files in this folder, together with any Java sources. The java folder contains three subfolders:
com.example.myfirstapp (or the domain name you have specified): This folder contains the Kotlin source code files for your app.
com.example.myfirstapp (androidTest): This folder is where you would put your instrumented tests, which are tests that run on an Android device. It starts out with a skeleton test file.
com.example.myfirstapp (test): This folder is where you would put your unit tests. Unit tests don’t need an Android device to run. It starts out with a skeleton unit test file. 3. Expand the res folder. This folder contains all the resources for your app, including images, layout files, strings, icons, and styling. It includes these subfolders:
drawable: All your app’s images will be stored in this folder.
layout: This folder contains the UI layout files for your activities. Currently, your app has one activity that has a layout file called activity_main.xml. It also contains content_main.xml, fragment_first.xml, and fragment_second.xml.
menu: This folder contains XML files describing any menus in your app.
mipmap: This folder contains the launcher icons for your app.
navigation: This folder contains the navigation graph, which tells Android Studio how to navigate between different parts of your application.
values: Contains resources, such as strings and colors, used in your app.
Step 4: Create a virtual device (emulator)
In this task, you will use the Android Virtual Device (AVD) manager to create a virtual device (or emulator) that simulates the configuration for a particular type of Android device.
The first step is to create a configuration that describes the virtual device.
- In Android Studio, select Tools > AVD Manager, or click the AVD Manager icon in the toolbar.

- Click +Create Virtual Device. (If you have created a virtual device before, the window shows all of your existing devices and the +Create Virtual Device button is at the bottom.) The Select Hardware window shows a list of pre-configured hardware device definitions.
- Choose a device definition, such as Pixel 2, and click Next. (For this codelab, it really doesn’t matter which device definition you pick).
- In the System Image dialog, from the Recommended tab, choose the latest release. (This does matter.)
- If a Download link is visible next to a latest release, it is not installed yet, and you need to download it first. If necessary, click the link to start the download, and click Next when it’s done. This may take a while depending on your connection speed.
- In the next dialog box, accept the defaults, and click Finish.
The AVD Manager now shows the virtual device you added.
- If the Your Virtual Devices AVD Manager window is still open, go ahead and close it.
Run your app on your new emulator
- In Android Studio, select Run > Run ‘app’, or click the Run icon in the toolbar.
 The icon changes once your app is running.
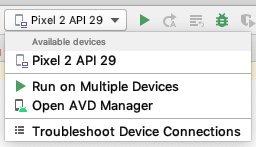
 - In Run > Select Device, under Available devices, select the virtual device that you just configured. A dropdown menu also appears in the toolbar.
The emulator starts and boots just like a physical device. Depending on the speed of your computer, this may take a while. You can look in the small horizontal status bar at the very bottom of Android Studio for messages to see the progress.
| Messages that might appear briefly in the status bar | |
| Gradle build running |  |
| Waiting for target device to come on line |  |
| Installing APK |  |
| Launching activity |  |
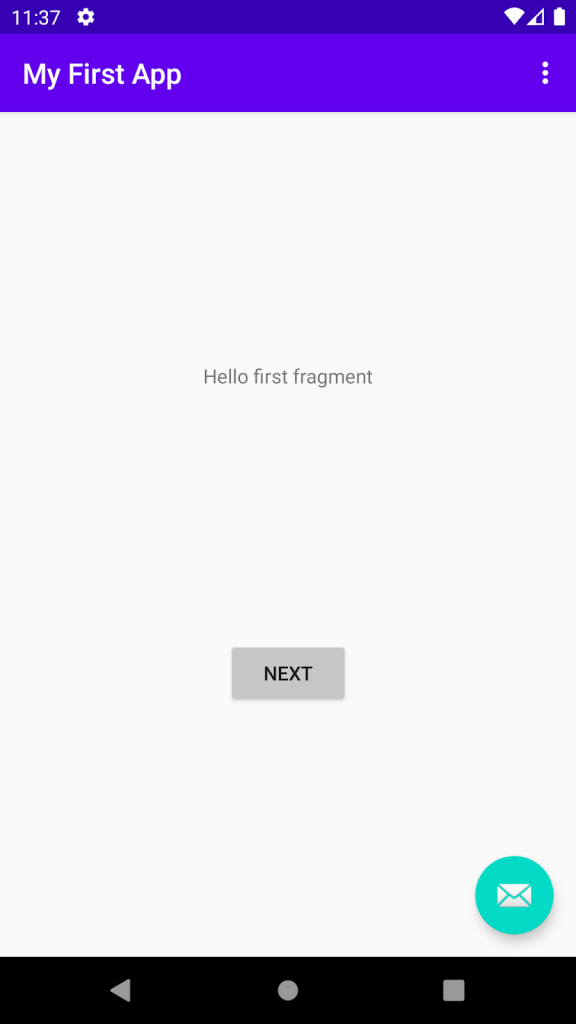
Once your app builds and the emulator is ready, Android Studio uploads the app to the emulator and runs it. You should see your app as shown in the following screenshot.
Run your app on a device (if you have one)
What you need:
- An Android device such as a phone or tablet.
- A data cable to connect your Android device to your computer via the USB port.
- If you are using a Linux or Windows OS, you may need to perform additional steps to run your app on a hardware device. Check the Run Apps on a Hardware Device documentation. On Windows, you may need to install the appropriate USB driver for your device. See OEM USB Drivers.
Run your app on a device
To let Android Studio communicate with your device, you must turn on USB Debugging on your Android device.
On Android 4.2 and higher, the Developer options screen is hidden by default. To show Developer options and enable USB Debugging:
- On your device, open Settings > About phone and tap Build number seven times.
- Return to the previous screen (Settings). Developer options appears at the bottom of the list. Tap Developer options.
- Enable USB Debugging.
Now you can connect your device and run the app from Android Studio.
- Connect your device to your development machine with a USB cable. On the device, you might need to agree to allow USB debugging from your development device.
- In Android Studio, click Run in the toolbar at the top of the window. (You might need to select View > Toolbar to see this option.) The Select Deployment Target dialog opens with the list of available emulators and connected devices.
- Select your device, and click OK. Android Studio installs the app on your device and runs it.